Install LVP over existing tile
Pulling out tile is expensive and messy. If the existing tile is sound, you can usually float LVP right over it.
What you'll learn
- When tile is suitable as a substrate (and when it is not)
- How to fill grout lines so they do not telegraph through the LVP
- Why underlayment matters more here than over plywood
- How to handle door clearance and transition heights
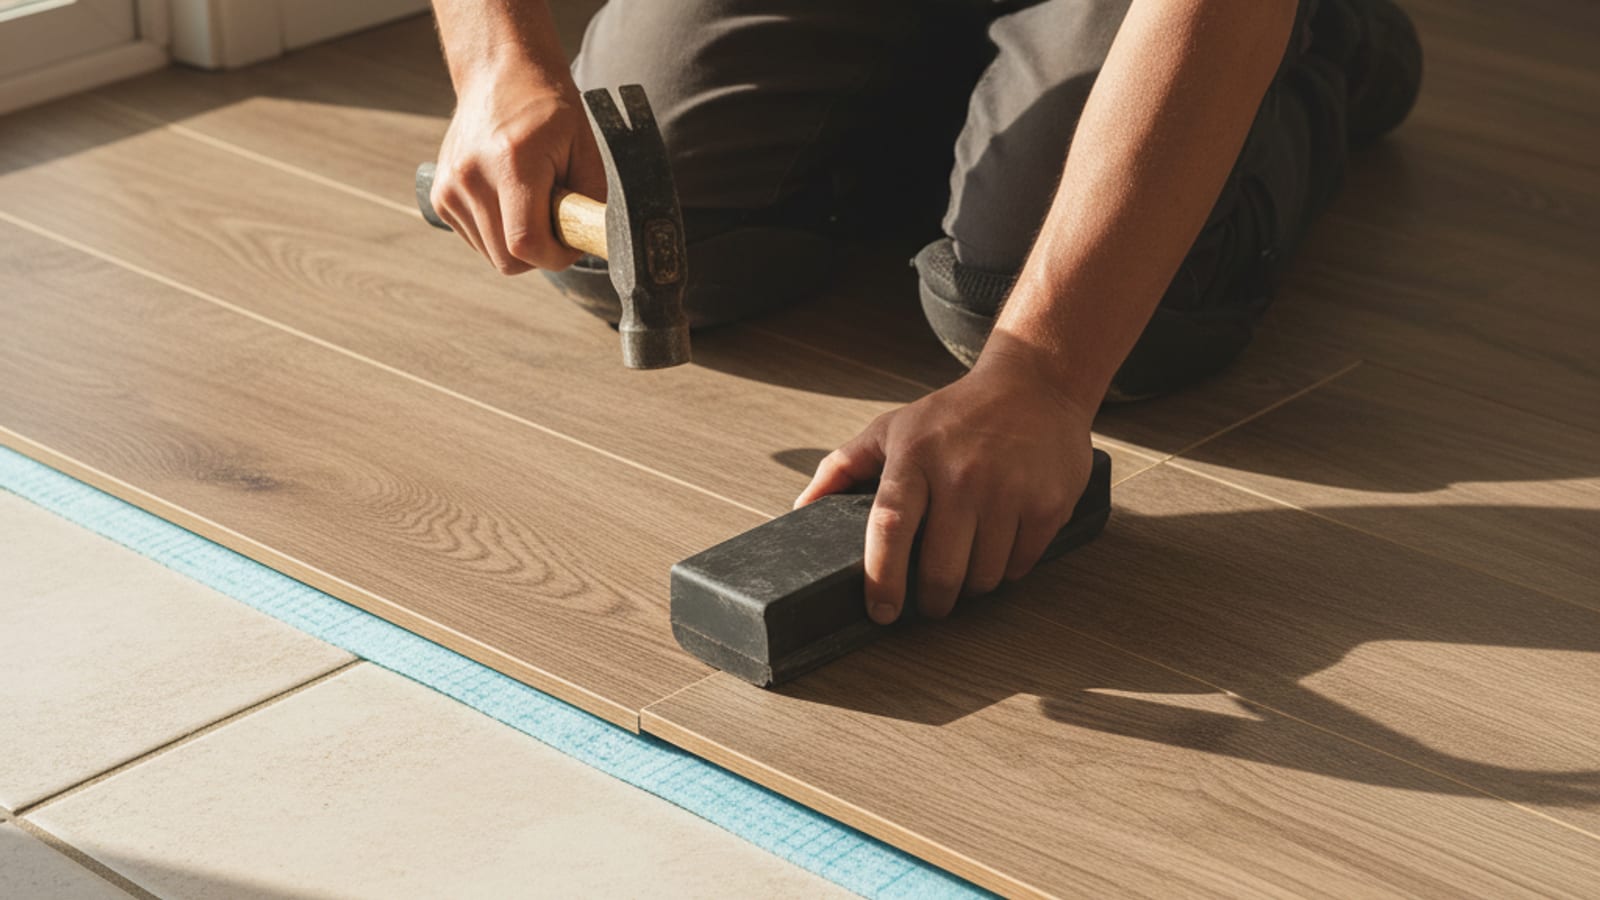
Step by step
- Test the tile, tap each tile with a mallet handle. Hollow sounds mean loose tile that needs replacement first.
- Confirm flatness with a 10-foot straightedge. Grind down high spots.
- Fill grout lines wider than 1/4 inch with embossing leveler or self-leveling compound.
- Lay a quality vapor-barrier underlayment (foam or cork-rubber).
- Click-lock the LVP with proper expansion gaps at all walls and transitions.
Safety note
Asbestos check: tile flooring installed before 1980 may contain asbestos. If you do not know what your tile is, do not grind, sand, or break it. We test before disturbing it on every pre-1980 home.
Rather have a pro handle it?
Free in-home flooring measure across San Diego County. A real flooring pro picks up.
More guides
Keep learning.
Basics · 5 min watch
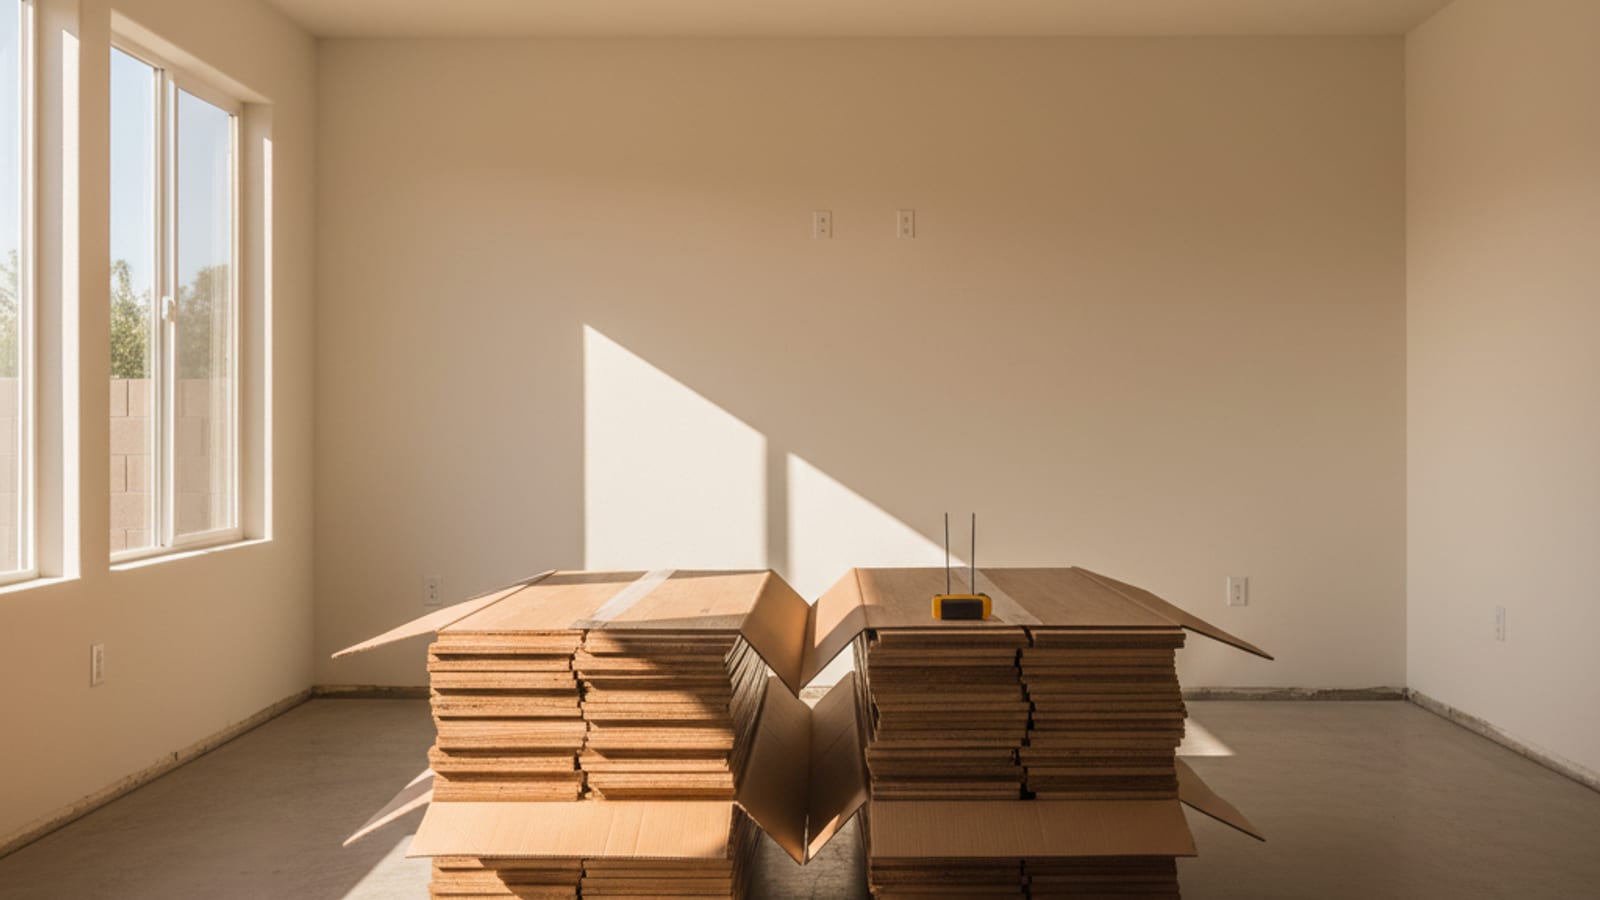
Acclimate hardwood before installation
Most failed hardwood installs come from one mistake: skipping acclimation. Five to ten days on site is non-negotiable.
Basics · 6 min watch
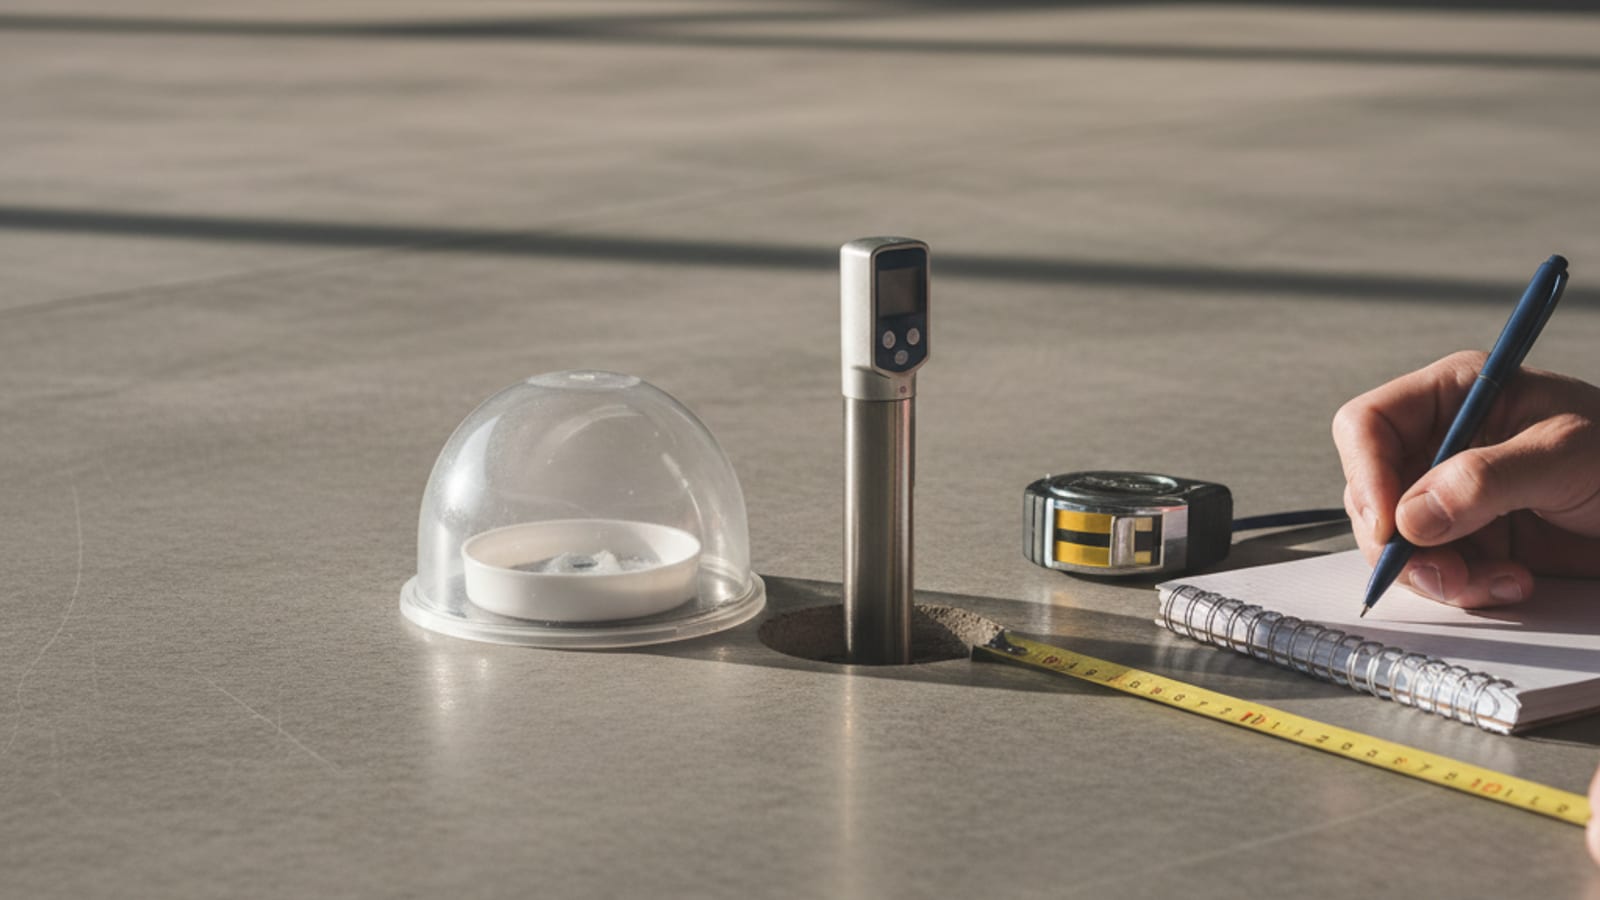
Moisture-test a concrete slab
If you skip slab moisture testing, your floor will tell you about it 6 to 18 months later. Test before you install.
Maintenance · 4 min watch
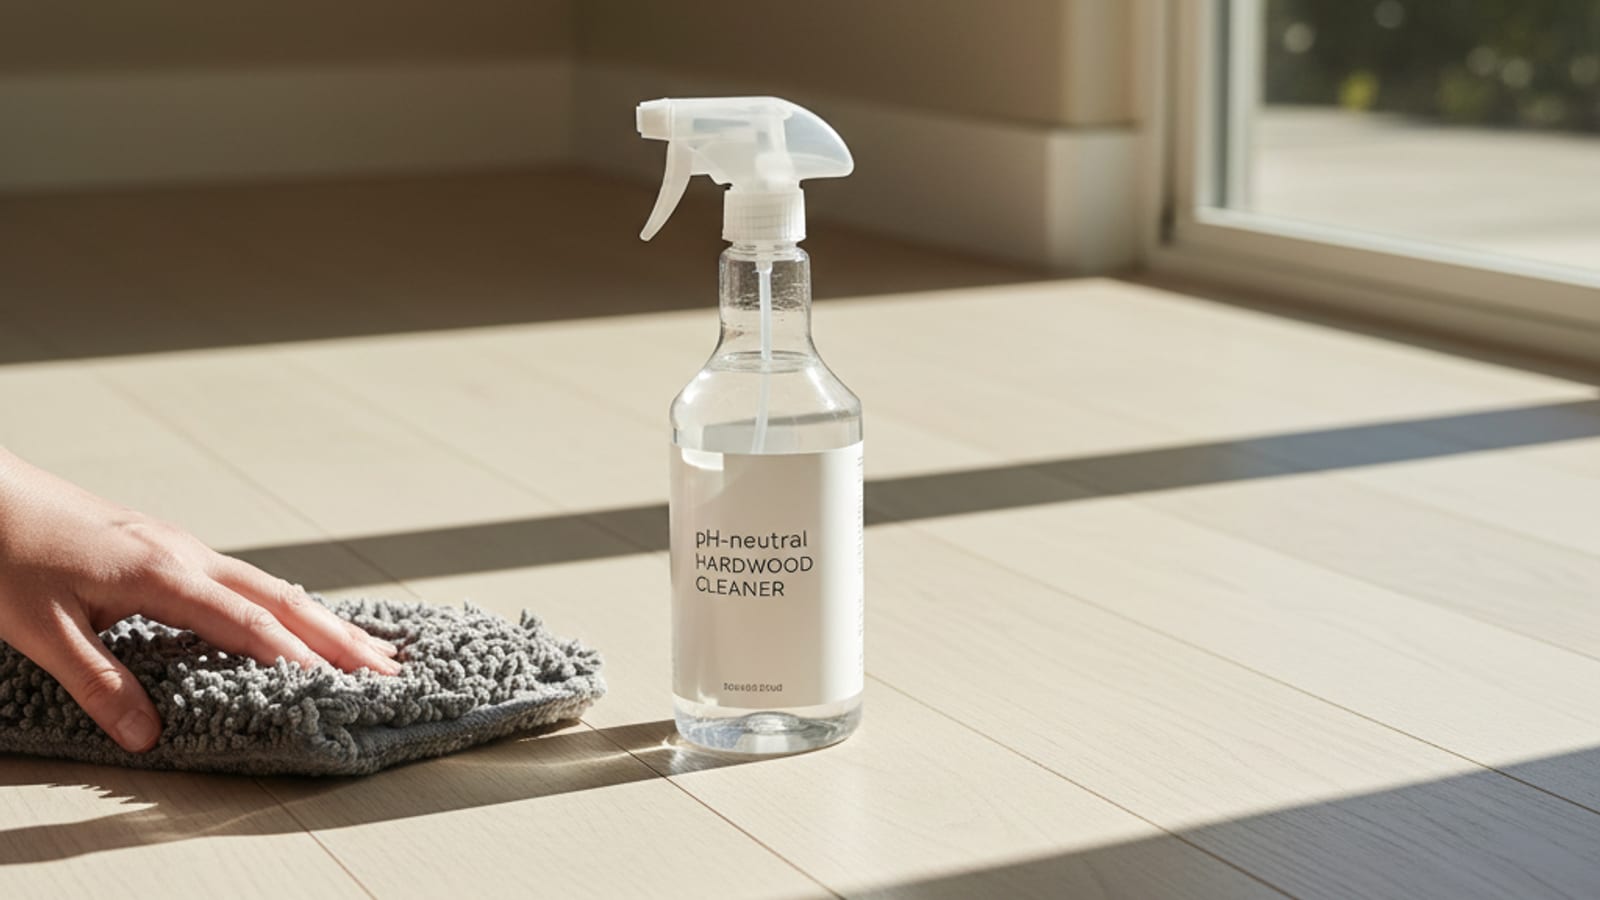
Clean hardwood floors the right way
More hardwood finish damage comes from cleaning than from foot traffic. The right method takes 5 minutes.