Fix a squeaky hardwood floor
Squeaks come from movement, a board moving against a nail, a subfloor moving against a joist. The fix depends on access.
What you'll learn
- How to locate the exact source of a squeak
- The from-below fix (basement or crawlspace), cleanest option
- The from-above fix using Squeeeeek-No-More, works in any home
- When the fix is structural and a DIY kit will not solve it
Step by step
- Walk the floor barefoot or in socks. Note exact squeak locations with painter's tape.
- If you have a basement or crawlspace, check from below first. Look for joist movement at the squeak location.
- From below: drive a wood screw with a washer up through the subfloor into the bottom of the squeaky board (do not penetrate the top of the board).
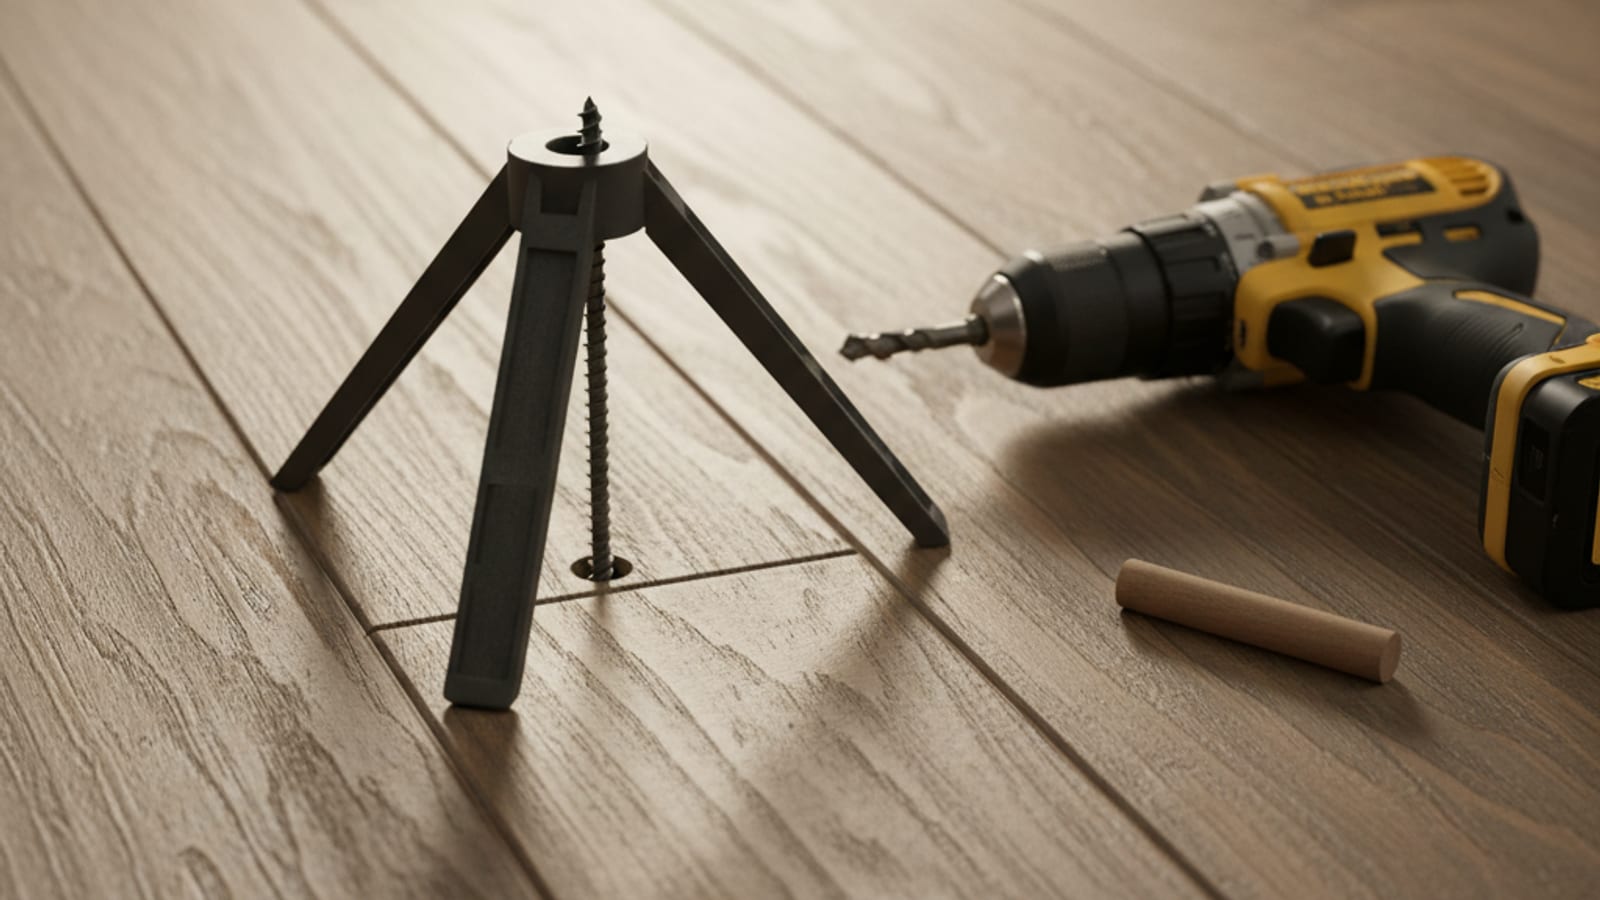
- From above (Squeeeeek-No-More): position the tripod, drive the breakaway screw down through the carpet or directly into the floor, snap it off below surface.
- Wood-fill the screw hole if it is in finished hardwood, then touch up the finish.
If the squeak is along a long wall or follows a structural line, the issue is probably joist or subfloor movement and a screw will not fix it permanently. We diagnose before quoting on persistent squeaks.
Rather have a pro handle it?
Free in-home flooring measure across San Diego County. A real flooring pro picks up.
Keep learning.
Acclimate hardwood before installation
Most failed hardwood installs come from one mistake: skipping acclimation. Five to ten days on site is non-negotiable.
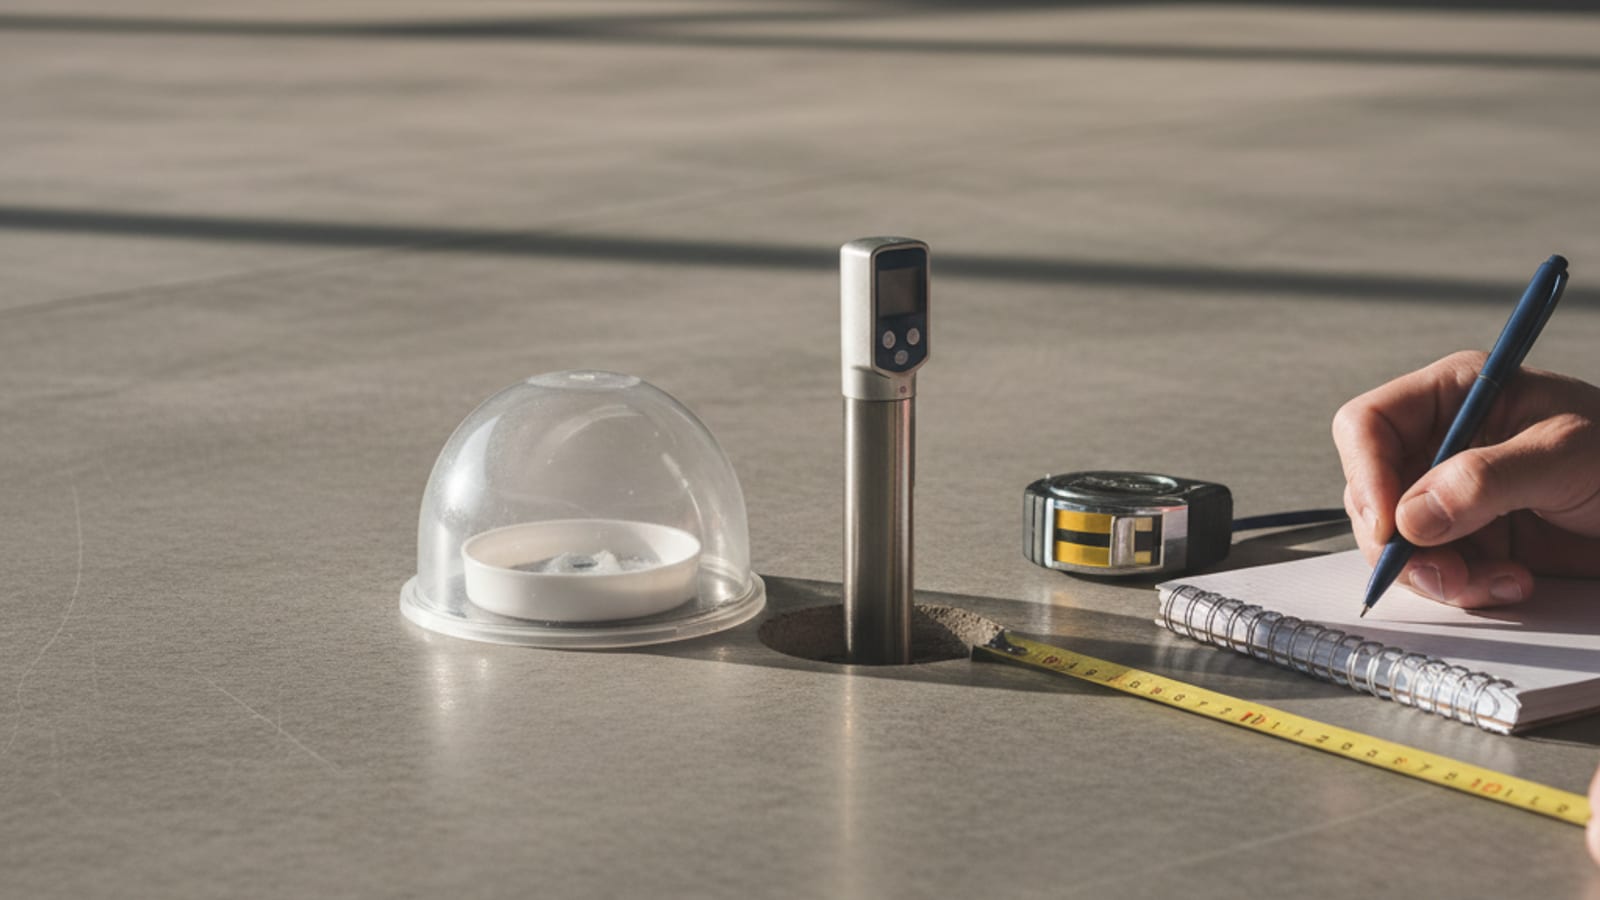
Moisture-test a concrete slab
If you skip slab moisture testing, your floor will tell you about it 6 to 18 months later. Test before you install.
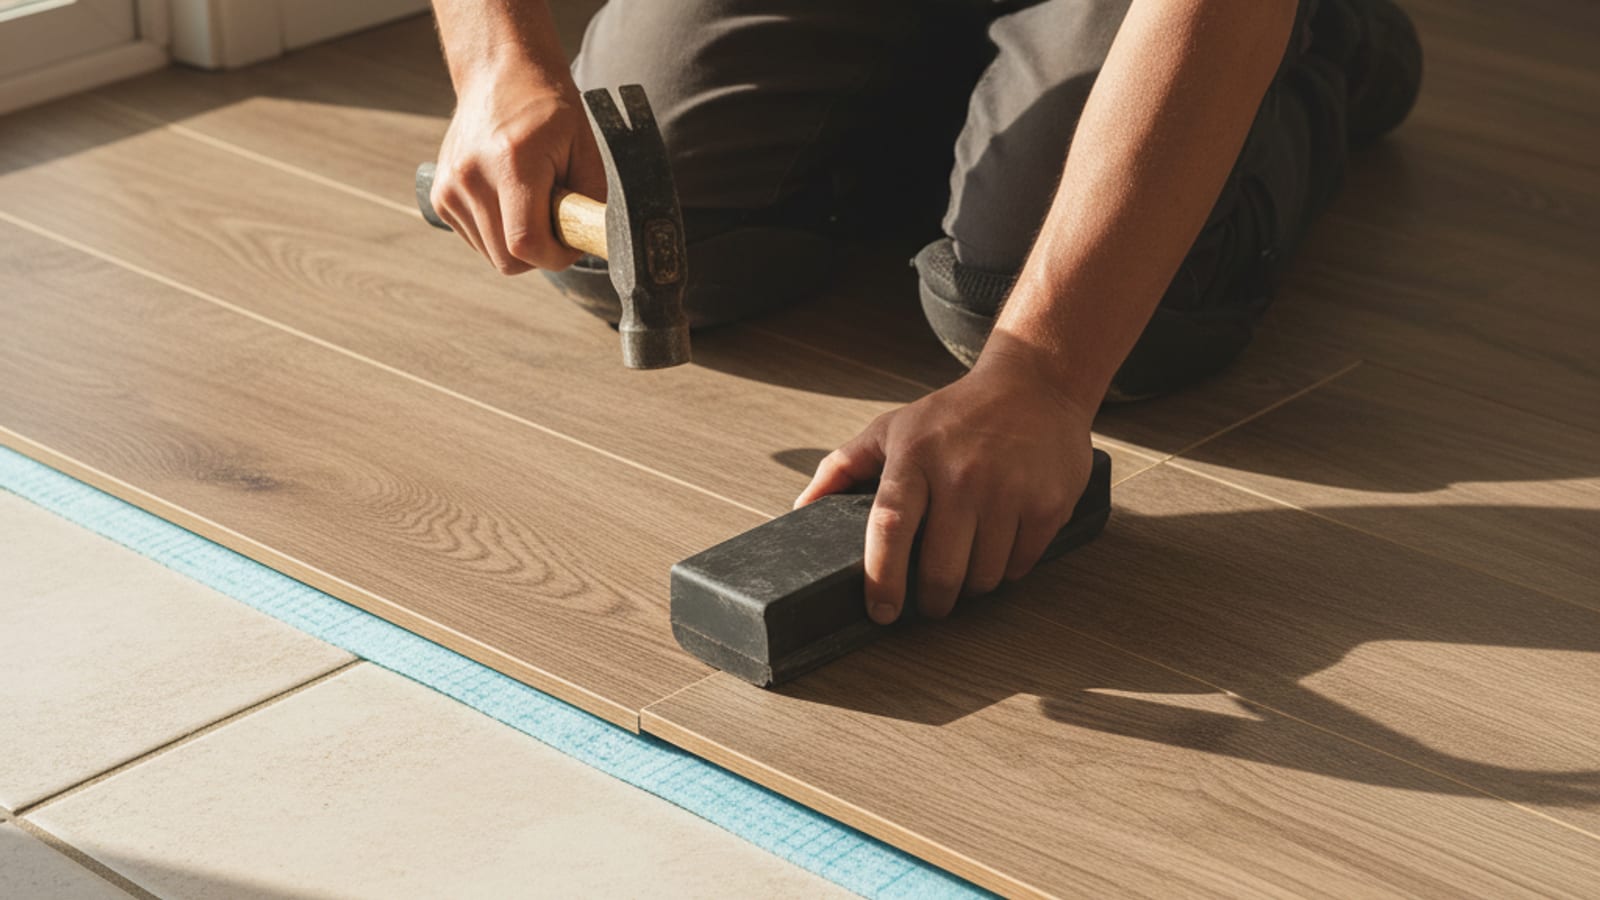
Install LVP over existing tile
Pulling out tile is expensive and messy. If the existing tile is sound, you can usually float LVP right over it.