Tile flooring is a classic, durable, and beautiful choice for San Diego homes, perfectly suited to our coastal climate. But before you start dreaming of that perfect porcelain or timeless terracotta, you need a realistic budget. Understanding the full tile flooring cost in San Diego involves looking beyond the price per tile and considering labor, preparation, and design choices.
Average tile installation cost per square foot in San Diego county
In San Diego, the all-in cost to install tile flooring typically ranges from $15 to $35 per square foot. This is a broad range because every project is unique. The final price depends on the type of tile you choose, the complexity of the job, and the condition of your existing subfloor.
A simple project with budget-friendly ceramic tile in a standard square room will be on the lower end of that spectrum. A complex project involving natural stone, intricate patterns, and extensive subfloor leveling will fall on the higher end.
To give you a clearer picture, here’s a breakdown of the typical costs you can expect.
| Cost Component | Low-End Estimate (per sq. ft.) | High-End Estimate (per sq. ft.) | Notes |
|---|---|---|---|
| Tile Material | $2.00 | $15.00+ | Ceramic is most affordable; porcelain is mid-range; natural stone is premium. |
| Professional Labor | $8.00 | $18.00 | Includes setting, cutting, grouting, and sealing. Varies with complexity. |
| Demolition & Removal | $2.00 | $5.00 | Cost to tear out and dispose of old carpet, tile, or vinyl. |
| Subfloor Preparation | $1.00 | $4.00 | Includes cleaning, patching, and applying self-leveling compounds. |
| Setting Materials | $2.00 | $3.00 | Thin-set mortar, grout, sealer, backer board, etc. |
| Total Estimated Cost | $15.00 | $45.00+ | This reflects the full scope of a professional installation. |
As you can see, the materials themselves are often just one part of the total investment. The quality of the installation and the prep work underneath are what ensure your beautiful new floor lasts for decades.
How tile material affects price
The tile you fall in love with at the showroom has the biggest impact on your material budget. Each type has a distinct look, feel, and price point. Here in San Diego, we see a lot of variety, from modern large-format porcelain to rustic Saltillo.
Ceramic Tile
Ceramic is often the most budget-friendly option, typically costing $2 to $7 per square foot. It’s made from a softer clay and fired at a lower temperature than porcelain, making it easier to cut. This makes it a great choice for backsplashes and low-traffic areas like guest bathrooms. However, it’s more porous and less durable than porcelain, so it’s not ideal for high-traffic entryways or outdoor patios.
Porcelain Tile
Porcelain is the workhorse of the tile world. It costs more than ceramic, usually $4 to $12 per square foot, but you get significant benefits for the price. It’s made from a more refined, denser clay and fired at higher temperatures, making it incredibly hard, durable, and water-resistant. Its low absorption rate makes it frost-proof and perfect for San Diego’s indoor-outdoor living spaces, busy kitchens, and bathrooms. The porcelain tile cost in San Diego is often a smart investment for long-term value.
Natural Stone Tile
Natural stone, like marble, travertine, slate, and limestone, sits at the premium end of the price spectrum, ranging from $5 to $25+ per square foot. Each piece is unique, offering an unmatched organic beauty. However, stone is porous and requires regular sealing to prevent staining. It can also be softer and more prone to scratching or chipping than porcelain. It’s a luxury choice that requires more maintenance but delivers a stunning, high-end look.
When you’re trying to decide on the right material, it can be helpful to compare it against other flooring options. For example, understanding how tile vs. LVP performs in a bathroom can help clarify which material best suits your lifestyle and budget.
Labor costs: what to expect from professional tile setters
Labor is a significant portion of your tile installation budget, typically ranging from $8 to $18 per square foot in the San Diego area. It’s tempting to try and save money here, but tile setting is a precise craft where experience matters immensely. An improper installation can lead to cracked tiles, uneven surfaces (lippage), and grout failure within a few years.
Professional tile installation prices in San Diego cover a multi-step process that ensures a flawless, long-lasting floor:
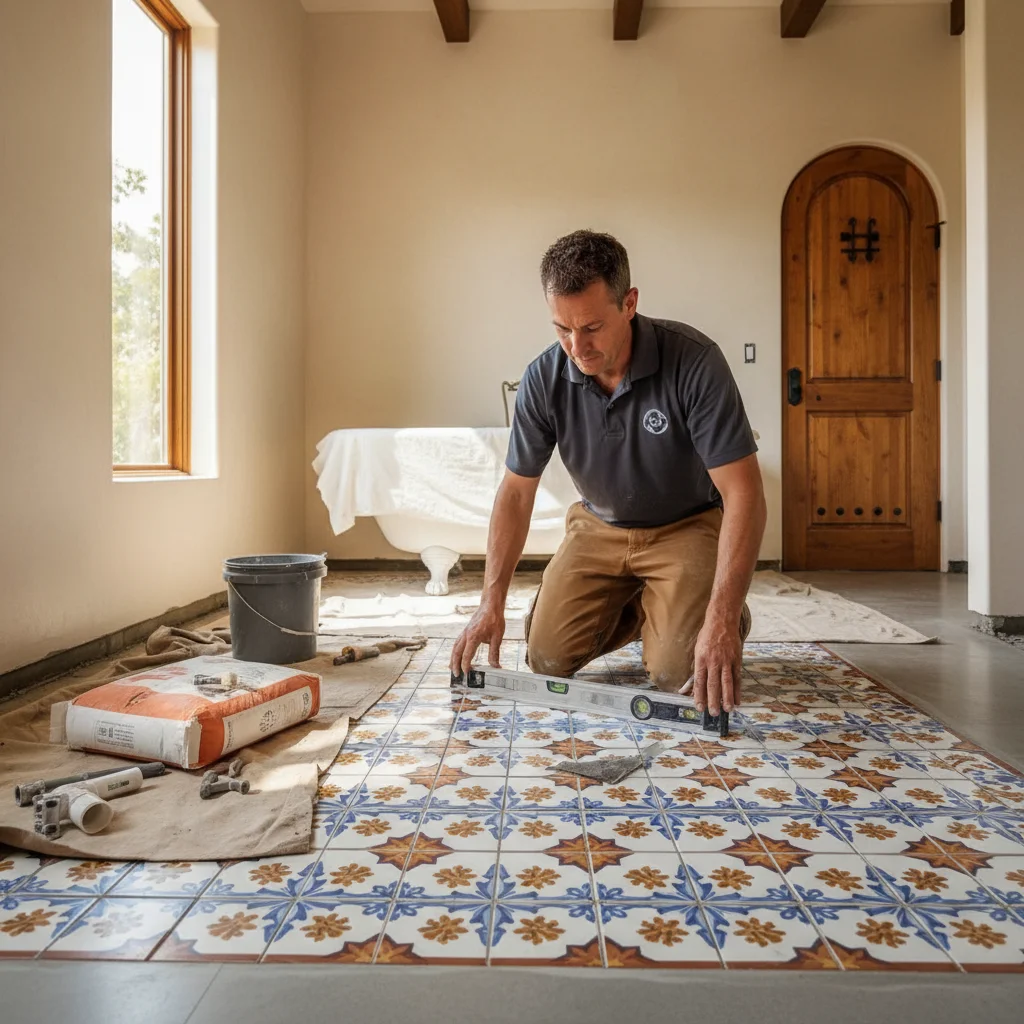
- Layout: A pro will carefully measure the room and plan the layout to ensure balanced cuts, straight lines, and minimal waste. They account for the room’s specific quirks, making sure the pattern looks centered and intentional.
- Setting: This involves applying a consistent layer of thin-set mortar to the subfloor and “back-buttering” each tile for maximum adhesion. This prevents hollow spots that can lead to cracks under pressure.
- Cutting: Tile setters use specialized wet saws and grinders to make precise cuts around doorways, vents, and cabinetry. This is especially critical for dense materials like porcelain and hard natural stone.
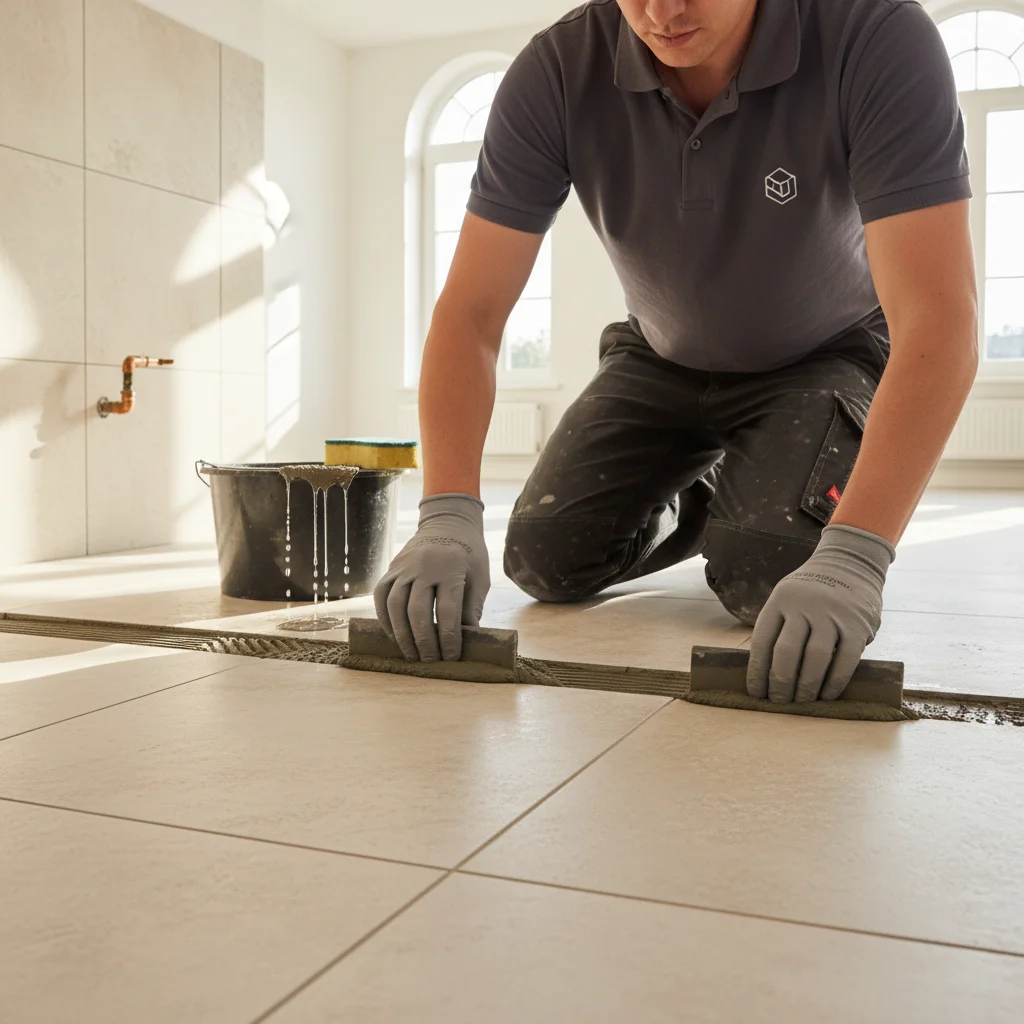
- Grouting: After the tiles are set and the mortar has cured, the installer applies grout evenly between the tiles, cleans off the excess, and tools the grout lines for a clean, professional finish.
- Sealing: For natural stone and some types of grout, a sealer is applied to protect against stains and moisture.
Hiring a licensed, insured, and experienced installer is your best defense against costly future repairs. They have the right tools and deep knowledge of materials to do the job right the first time.
Does intricate pattern work like herringbone cost more?
Yes, absolutely. The pattern you choose has a direct impact on labor costs. A standard grid or running bond pattern is the most straightforward and cost-effective to install.
When you opt for a more complex design like herringbone, chevron, or a pinwheel pattern, you should expect the labor portion of your quote to increase by 20% to 40% or more.
Why the extra cost? It comes down to two factors: time and waste.
- More Cuts: A herringbone pattern requires a diagonal cut on almost every tile that meets a wall. This dramatically increases the number of cuts the installer has to make compared to a simple grid. Each cut takes time to measure, execute on the wet saw, and smooth for a perfect fit.
- Increased Waste: All those extra cuts generate more unusable small pieces of tile. While a standard layout might have a material waste factor of 10%, a complex pattern might require ordering 15-20% extra tile to account for the cuts.
- Layout Complexity: Setting up the initial lines for a diagonal or herringbone pattern is far more time-consuming. It requires precise measurements and chalk lines to ensure the pattern remains straight and consistent across the entire room.
While these patterns cost more to install, they can also add incredible visual interest and a custom feel to your space. If you have your heart set on an intricate design, just be sure to account for the higher labor and material costs in your budget.
Don’t forget demolition and subfloor prep costs
What lies beneath your current floor is one of the biggest variables in any flooring project. You can’t just lay new tile over old carpet or uneven concrete. Proper demolition and subfloor preparation are non-negotiable for a successful tile flooring installation.
Demolition and disposal of your old flooring can add $2 to $5 per square foot to your project. This includes the labor to tear out the old material and the fees for legally disposing of it. Removing old, well-adhered tile is more labor-intensive and therefore more expensive than pulling up carpet and padding.
Once the old floor is gone, the subfloor is exposed. Tile requires a substrate that is perfectly flat, stable, and clean. Any imperfections will transfer through to the tile, causing cracks or lippage. In San Diego, we work with both concrete slab foundations and wood subfloors, each with its own needs.
Subfloor preparation can include:
- Grinding: Sanding down high spots on a concrete slab.
- Patching: Filling cracks or holes in the concrete.
- Leveling: Pouring a self-leveling compound to create a perfectly flat surface. This can cost $1 to $4 per square foot.
- Backer Board: Installing cement backer board over a wood subfloor to create a rigid, water-resistant base for the tile.
These steps are the foundation of your new floor. Skipping them to save a few dollars is the fastest way to ensure your investment fails prematurely.
Getting a firm quote for your San Diego tile project
When you’re ready to move forward, the next step is to get detailed quotes from qualified flooring contractors. A trustworthy quote is more than just a single number; it’s an itemized breakdown of the entire project.
Your quote should clearly list separate costs for:
- Materials (specifying the tile and quantity)
- Labor (including the pattern to be installed)
- Demolition and disposal
- Subfloor preparation needed
- Setting materials like mortar and grout
This transparency allows you to compare apples to apples and understand exactly what you’re paying for. Be wary of any contractor who gives you a vague, single-price estimate without an in-person inspection of your space.
Always verify that your contractor has a valid C-15 (Flooring and Floor Covering) or C-54 (Ceramic and Mosaic Tile) license from the California Contractors State License Board. You can check their license status for free on the CSLB website. Working with a licensed professional protects you and ensures your project is done to code.
When to call us
Budgeting for a new tile floor involves many moving parts. From choosing the right porcelain for your patio to ensuring your subfloor is perfectly prepped, getting it right requires expertise. If you want a clear, comprehensive quote and an installation that will stand the test of time, it’s time to call a professional.
Call us at (858) 925-5546 for a same-day estimate.